Planning a Bathroom Remodel? Get the Layout Right First
Share this article
A bathroom can hold beautiful tile, a striking vanity, and a shower you saw in a magazine, and still feel wrong to use every morning. The reason almost always traces back to one thing: the layout. Before you fall for finishes, the smartest move is to plan how the room works, how you move through it, and how each fixture relates to the next. Get the bathroom remodel layout right, and everything you add on top of it feels effortless.
This guide walks you through the planning logic that experienced remodelers lean on. You will learn how to think about flow, how to separate the parts of the room that get wet from the parts that stay dry, and how to give each fixture enough breathing room so the space feels calm instead of cramped.
Quick Answer: A bathroom remodel layout works when it protects a clear walking path, keeps plumbing grouped on one wall where possible, separates the wet zone from the dry zone, and gives the toilet, vanity, and shower enough clearance to use without twisting or squeezing past each other. Plan movement and clearances first, then choose the pretty stuff. A room that flows well will stay enjoyable far longer than one that only looks good in photos.
Start With How You Move Through the Room
Stand in your doorway and picture a normal weekday. You walk in, you turn toward the sink, someone else may need to reach the toilet or step into the shower while you brush your teeth. Every one of those moves needs a path, and the best layouts protect that path above all else.
The old idea of a kitchen work triangle has a cousin in the bathroom. Think of the toilet, sink, and shower or tub as three points you travel between. When those points sit in a logical sequence and the center of the floor stays open, the room feels twice its size. When they force you to cut across each other, even a generous footprint feels tight.
Aim for one clear rectangle of open floor when you step inside. That open center is where you turn, dry off, help a child at the sink, or simply stand without bumping a cabinet corner. Protecting it is the single most useful habit you can build during planning.
Map the Wet Zone and the Dry Zone
Every bathroom has two personalities. The wet zone is the shower or tub and the splash area around it. The dry zone is where you stand to towel off, where storage lives, and where you want outlets and paper to stay out of the spray. A layout that blurs these two never feels settled.
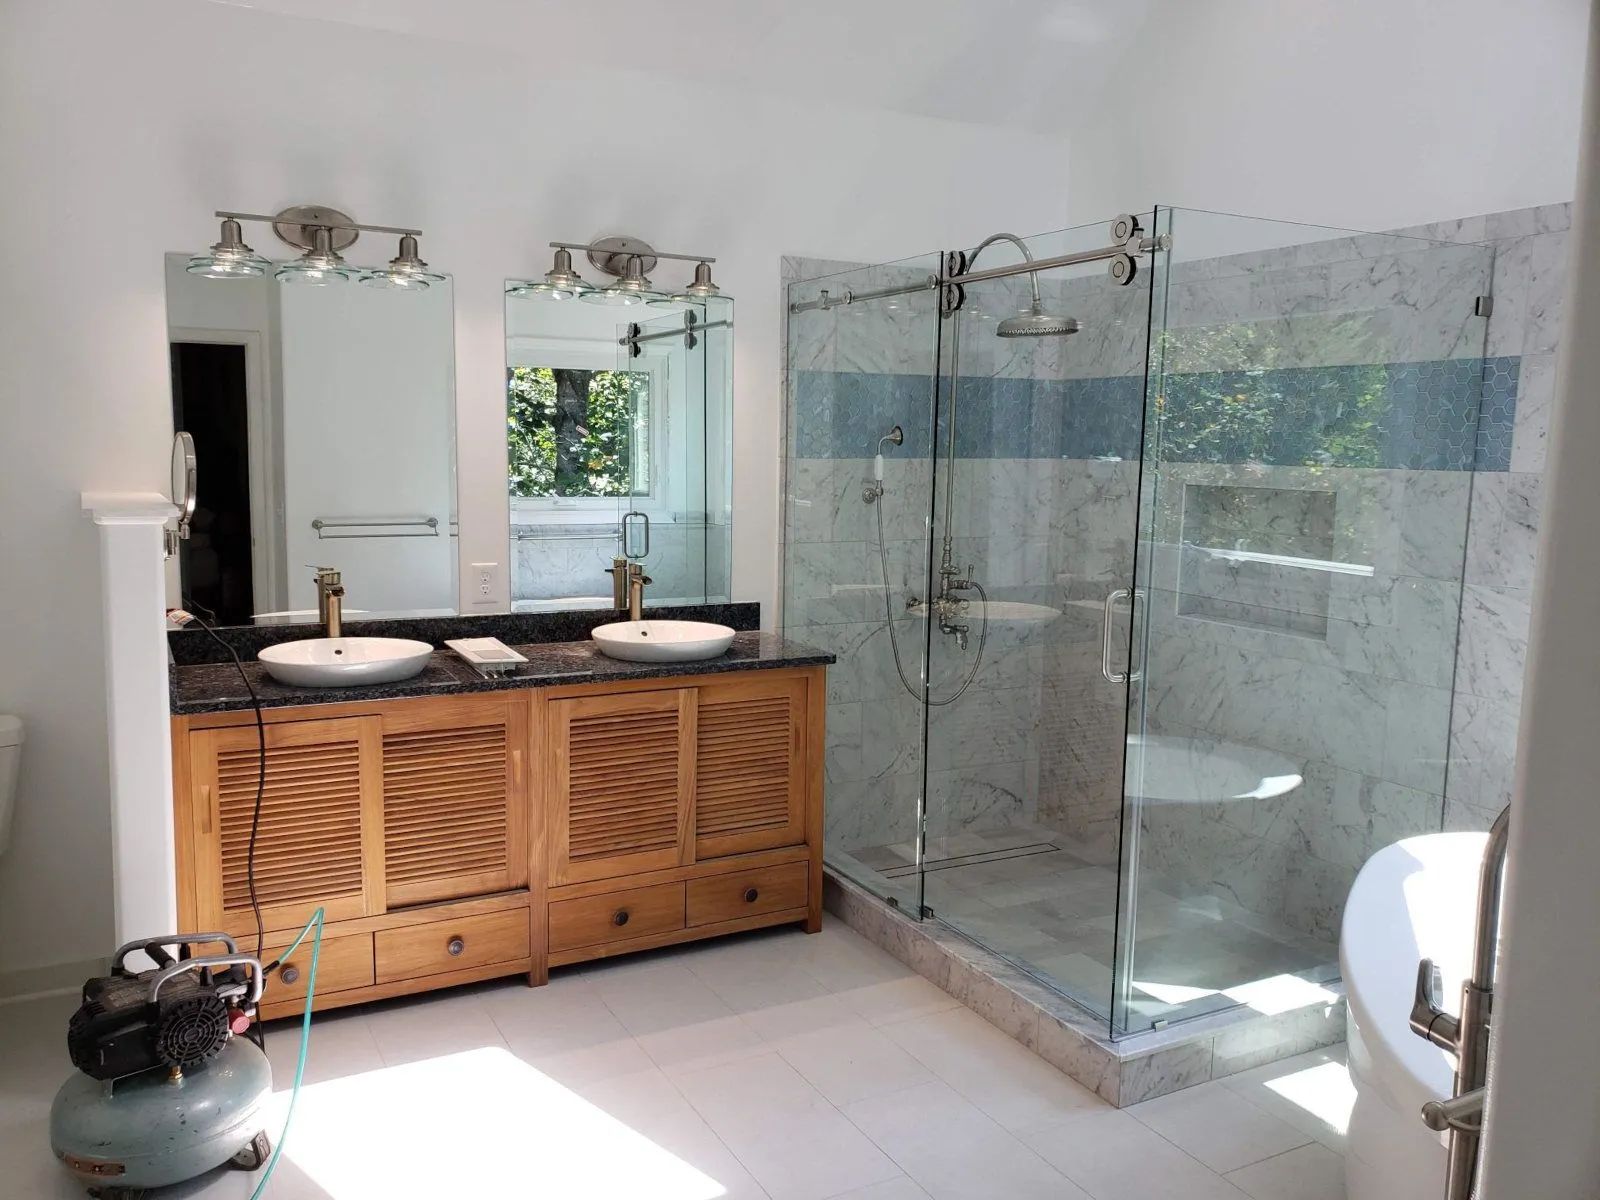
Plan the room so one end stays reliably dry. Keep the vanity, towel storage, and any open shelving on that side, and let the shower or tub anchor the opposite end. In our Triangle NC climate, where summer humidity already pushes moisture into every surface, keeping a defined dry zone does more than feel tidy. It gives damp air somewhere to dissipate instead of soaking into storage and finishes that were never meant to sit in the splash path.
TIP: When you sketch your plan, shade the wet zone in one color and the dry zone in another. If your towel bars, hamper, or electrical outlets land inside the shaded wet area, move them before you commit. This one habit prevents a surprising number of daily annoyances.
Keep Plumbing on One Wall When You Can
Plumbing is the quiet boss of a bathroom floor plan. The closer you keep your fixtures to the existing drain and supply lines, the smoother your remodel tends to go and the more predictable the result. A layout that respects where the water already runs usually flows better and installs cleaner than one built around a photo.
A helpful principle is to group the toilet and shower on the same wet wall whenever the room allows. Moving a toilet even a short distance affects drainage slope and venting, which can ripple into the floor structure and the finished timeline. That does not mean you can never relocate a fixture. It means you should relocate one because the room will genuinely work better, not simply because a different arrangement looked nice online.
Why the plumbing wall matters in older Triangle homes
Many homes across Chapel Hill, Carrboro, Hillsborough, and the older Durham neighborhoods were built decades ago, with bathrooms sized and plumbed for their era. Those spaces often reward a layout that keeps the wet wall where it is. Working with the existing stack respects the bones of an established house and tends to keep the project focused on the improvements you can feel every day, rather than on rerouting pipes behind the walls. When a move is truly worth it, plan it deliberately and early, before tile and fixtures are ordered.
Give Each Fixture Room to Breathe
Clearance is really just flow at close range. Each fixture needs a pocket of open space in front of it so you can use it comfortably, and the art of a good layout is making sure those pockets do not overlap in a way that jams the room. Treat the guidance below as comfort targets for planning, not as rules handed down from anywhere. Your goal is a room that feels easy.
The toilet
The toilet needs both elbow width and standing room in front. Give it enough space on each side that you are not brushing a wall or vanity, and leave a comfortable clear area ahead so approaching and turning never feels tight. When a toilet is wedged too close to a vanity or a wall, you feel it every single day, no matter how nice the fixture is.
The vanity
People obsess over vanity width and forget depth. In a snug room, an extra-deep cabinet quietly steals the walkway and makes drawers awkward to reach, even when the tape measure says it fits. Choose a depth that protects your open floor, leave room to stand and pull a drawer without backing into the shower, and remember that a slightly shallower vanity often makes the whole room feel larger.
The shower
A shower that feels generous does not have to be huge, but a cramped one is a daily reminder of a rushed plan. Give yourself enough interior room to turn without brushing the wall or the glass. If you are choosing between a tighter footprint and a slightly roomier one, the roomier shower almost always earns its space back in comfort. Keep the entry clear so stepping in and out never means squeezing past the toilet or a swinging door.
Watch the Door Swing
Doors cause more layout failures than any other single element. An inward-swinging door that arcs across the toilet, clips a vanity corner, or blocks a drawer will frustrate you long after the remodel is done. Before you settle a plan, draw the door and its full arc, then check that the arc touches nothing important.
If your door fights the room, you have options. A pocket door slides into the wall and gives the swing space back to the floor, which is a strong move in a tight bath. An outswing door can also solve the conflict where the adjoining space allows it. The point is to catch the collision on paper, where fixing it is free.
Small Bathroom Layout Strategies
Compact bathrooms are common across Triangle NC homes, and they can work beautifully when the plan is honest about space. The biggest wins come from reclaiming the center of the room rather than from squeezing in more.
A linear arrangement, with fixtures aligned along one wall or two adjacent walls, keeps the middle open and the plumbing simple. A corner shower tucked into the back of a square room hands the center of the floor back to you, which changes how the whole space feels. A floating, wall-mounted vanity shows more floor, and visible floor reads as space even when nothing actually grew. None of these tricks change the footprint. They change how the room lives.
Resist the urge to oversize a single element. A vanity that looks impressive in a showroom can overwhelm a small room and undo every other smart choice. In tight spaces, proportion is everything, and restraint usually reads as luxury.
Plan Ventilation and Moisture Flow
Layout is not only about where things sit. It is also about how air and moisture move. Our region carries real humidity for a good part of the year, and an established home with an aging bathroom often lacks the airflow to keep up. When you plan the room, plan the ventilation with it.
Position an exhaust fan where it can pull damp air out efficiently, ideally near the shower rather than in a far corner where steam lingers before it ever reaches the blades. Pair strong ventilation with materials that shrug off moisture, and keep the dry zone truly dry so humidity has somewhere to escape instead of settling into cabinetry. Good airflow protects your tile, your finishes, and the healthy feel of the room for years.
WARNING: Underestimating ventilation is one of the most common regrets in a bathroom project. If the room cannot clear steam quickly, moisture works its way into grout, caulk, and cabinetry over time, and no amount of beautiful tile makes up for a space that never quite dries out. Plan the airflow as carefully as you plan the fixtures.
Design for the Long Haul
A layout you love today should still serve you in ten or twenty years. Building a little flexibility into the plan now takes no extra effort and pays off quietly for a long time.
A curbless or low-threshold shower entry feels open and modern, and it also makes the room easier to enter at any age. Keeping the center of the floor generous supports easy movement, whether that is a parent helping a child or simply moving through the space with an armful of laundry. Blocking behind the walls during a remodel, so sturdy fixtures can be added later if you ever want them, is another small planning choice that keeps options open. Designing for the long haul is not about anticipating every future need. It is about leaving room to adapt.
Frequently Asked Questions
What should I decide first when planning a bathroom layout?
Start with movement and clearances, not finishes. Map how you walk through the room, protect one open path, and confirm each fixture has comfortable space. Once flow works on paper, tile and fixtures layer on easily.
Do I have to keep my fixtures where they are now?
Not necessarily, but keeping the plumbing wall intact when it already works has real value. Grouping the toilet and shower on the existing wet wall keeps a project smoother. Move a fixture only when relocation truly improves function.
How do I make a small bathroom feel larger without moving walls?
Reclaim the center of the room. Align fixtures along one or two walls, consider a corner shower, and choose a floating vanity to expose more floor. These moves change how the room reads without changing its footprint.
Where does ventilation fit into layout planning?
Right alongside the fixtures. Place the exhaust fan where it pulls moist air out quickly, ideally near the shower, and keep a defined dry zone. Planning airflow from the start protects your finishes far better than an afterthought.
What is the most common layout mistake to avoid?
Ignoring the door swing and the wet-versus-dry split. A door arcing into a fixture, or storage sitting in the splash zone, will bother you daily. Sketch the door arc and shade your zones before committing to a plan.
Get the Layout Right, Then Add Beauty
A great bathroom is not the sum of its finishes. It is the result of a plan that respects how you move, where the water runs, and how the room breathes. When the flow is right, the tile and the vanity simply get to shine. When the flow is wrong, no finish can rescue it. Give the layout the attention it deserves early, and the room will reward you every morning for years.
With 25
years serving Chapel Hill, North Carolina, and the surrounding Triangle area, Chamberlain Renovations LLC designs bathroom layouts built around how families actually live, not just how a photo looks. We plan clearances, plumbing, and ventilation before a single finish gets chosen. If you are planning a remodel across Chapel Hill, Carrboro, Durham, Hillsborough, or Cary, reach out through our website to start shaping a space that flows beautifully and lasts.
Will Your Bathroom Still Work for You in Twenty Years? Aging-in-Place Features Worth Building In Now